Have you ever dreamt of creating a wooden game that becomes the centerpiece of outdoor family gatherings and parties? Designing such a game can be a rewarding journey, blending creativity with practicality. It’s about crafting an experience that brings people together, wrapped in the charm of natural materials.
So, how do you design the perfect wooden game for those special outdoor moments? It involves understanding your audience, focusing on the game’s simplicity, durability, and aesthetic appeal, and incorporating a personal touch that resonates with players.
The Appeal of Wooden Games
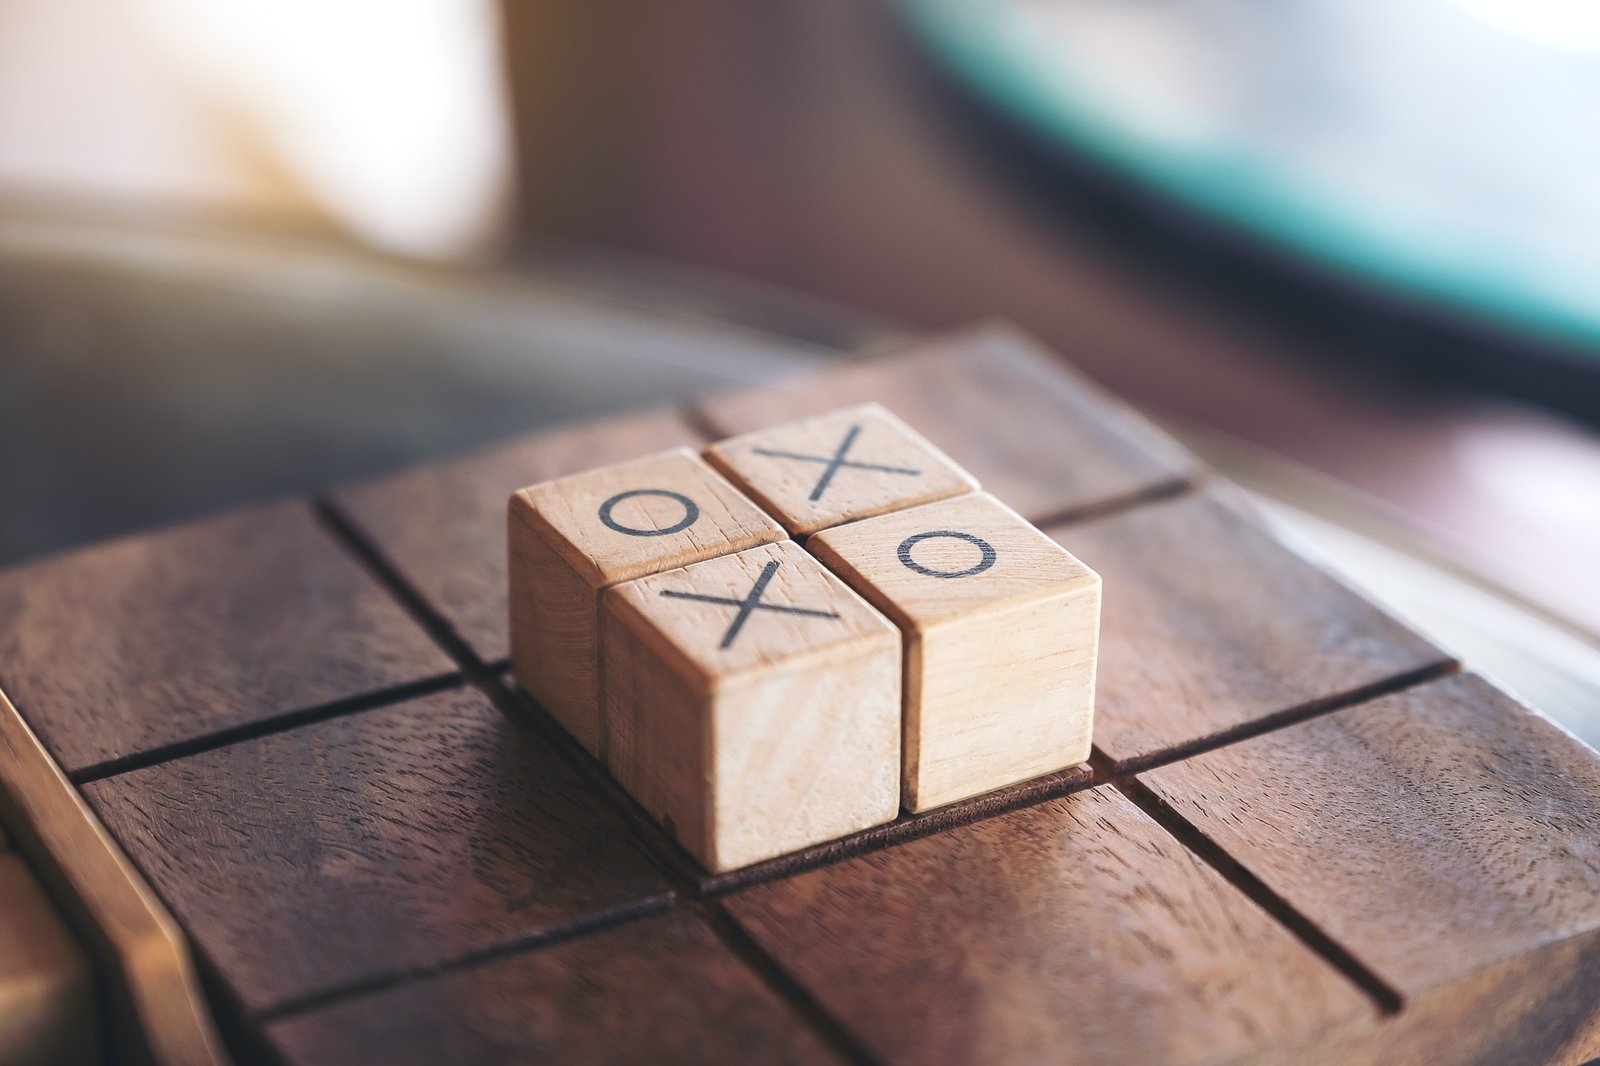
Wooden games are more than just playthings; they’re a nod to tradition, a touch of nature, and a catalyst for creating memories. Their timeless appeal lies in their simplicity and the tactile experience of natural wood.
Understanding Your Audience
Age Group Considerations
When designing a game, consider the age group of your players. Will it be for children, adults, or a game that spans generations? This consideration will drive the complexity of the rules and the game’s design.
Cultural Influences
Games often reflect cultural nuances. Whether it’s a theme based on local folklore or a game mechanic inspired by traditional pastimes, understanding cultural influences can make your game more relatable and engaging.
Essential Elements of Game Design
Simplicity in Rules
The best games are easy to learn but hard to master. Aim for simplicity in your rules to ensure that your game is accessible to everyone.
Durability and Safety
Outdoor games face the elements, so durability is key. Also, prioritize safety, especially if children are involved. Smooth edges and non-toxic finishes are essential.
Aesthetic Appeal
A game should be visually appealing, drawing players in. The beauty of wood can be its unique grain patterns or the way it’s carved and finished.

Step 1: Conceptualizing Your Game
Choosing the Right Game Type
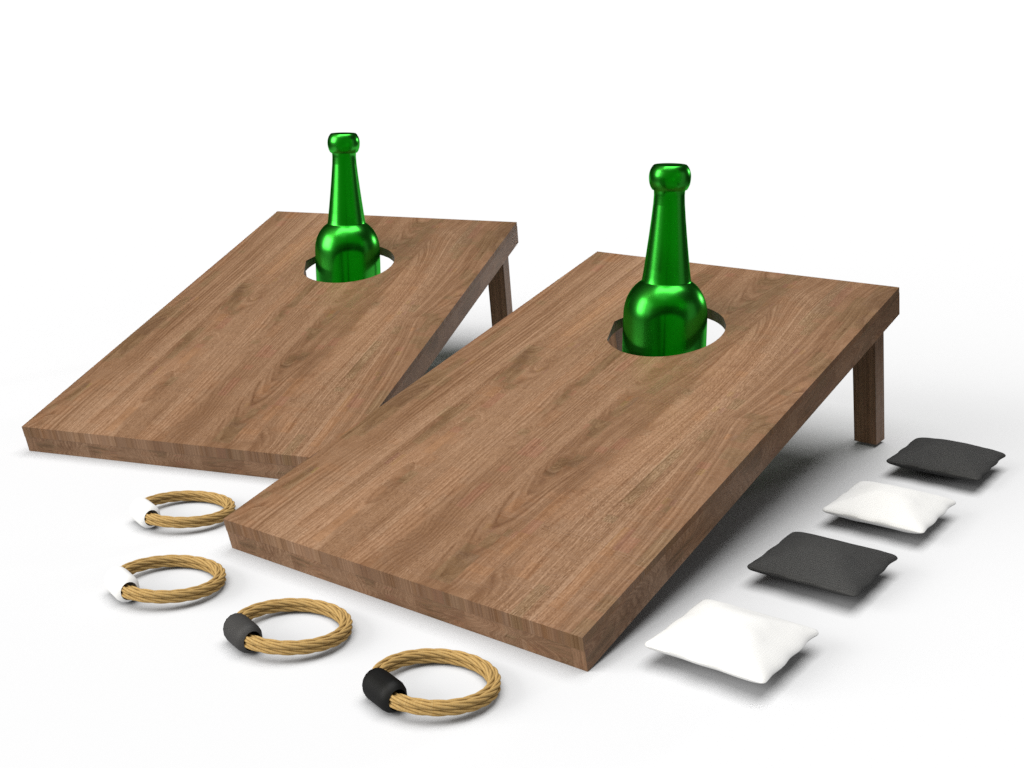
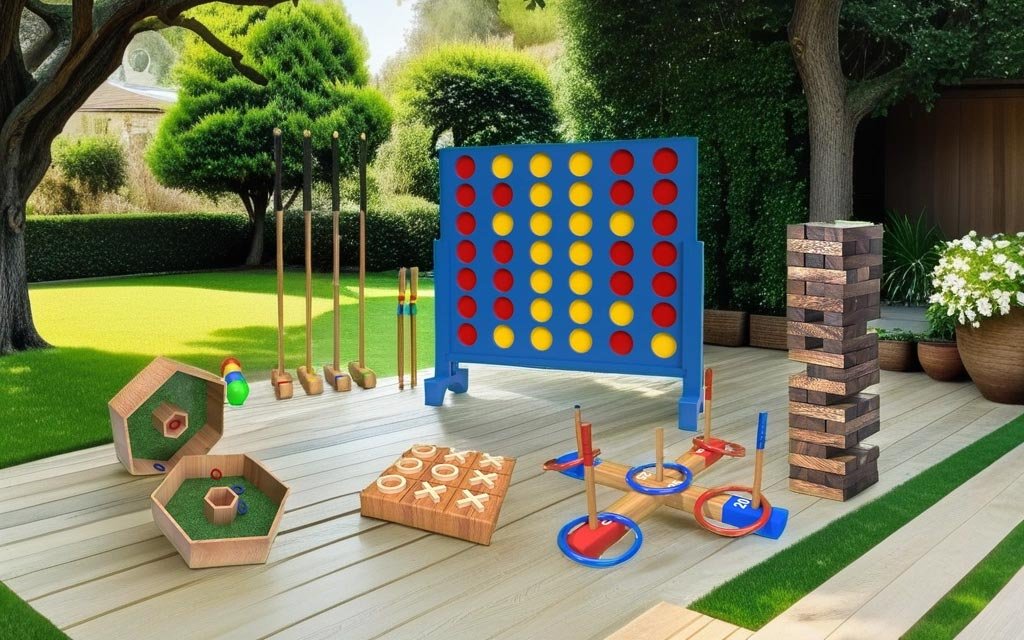
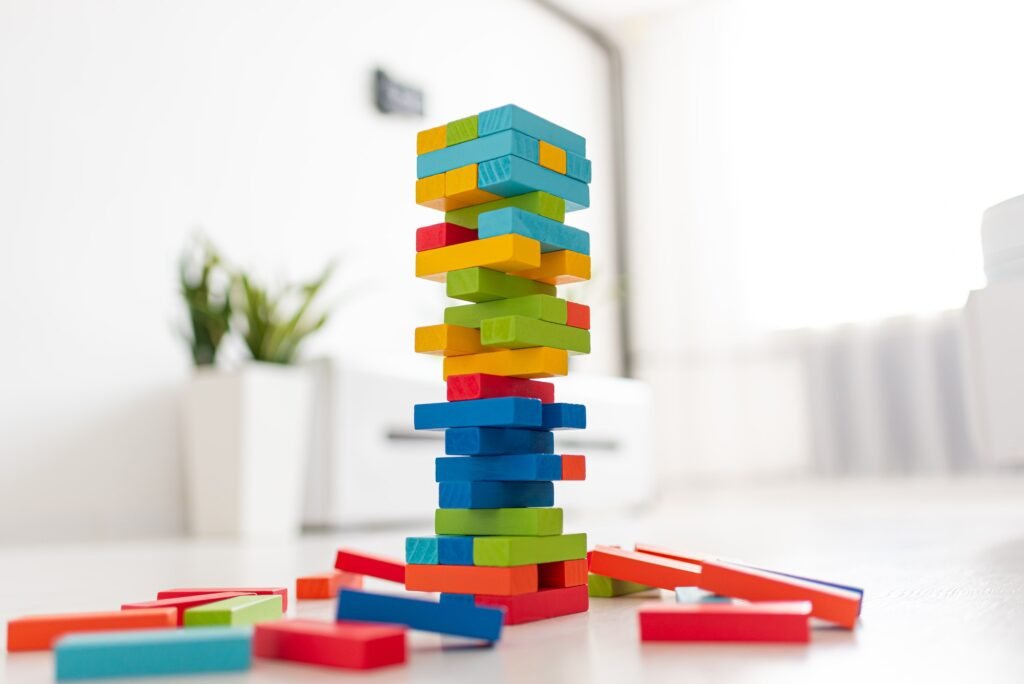
The first step in creating your wooden game is deciding what type of game you want. Are you looking for something strategic, like a wooden chess set, or something more active, like a giant Jenga or a ring toss? Consider the age group of the players and the complexity of the game that would suit your outdoor setting.
Inspiration and Creativity
Draw inspiration from traditional games, nature, and your personal experiences. Maybe there’s a childhood game you loved that’s no longer available, or perhaps you’ve thought of a completely new game concept. Sketch your ideas, no matter how rough, to visualize the game’s potential.
Step 2: Design Considerations
Size and Portability
Your game should be easily transportable and not too cumbersome to set up or store. If you’re aiming for a larger game, think about how it can be disassembled or designed in a way that makes it easy to move and store.
Durability and Material Selection
Choose high-quality, weather-resistant wood that can withstand outdoor elements. Hardwoods like cedar, teak, or redwood are excellent choices for their durability and resistance to rot and pests. Also, consider the finish of the wood to ensure it’s safe for all ages and can last through various weather conditions.
Step 3: Crafting Your Game
Tools and Techniques
Depending on the complexity of your game, you might need basic woodworking tools like saws, drills, sanders, and routers. Familiarize yourself with these tools and practice the techniques you’ll need to craft your game pieces accurately and safely.
Safety Measures
Always prioritize safety when working with wood and tools. Wear protective gear, work in a well-ventilated area, and follow all tool instructions carefully. If you’re new to woodworking, consider taking a class or finding a mentor to guide you through the process.
Step 4: Testing and Refinement
Playtesting
Once your prototype is ready, it’s time to playtest. Gather a group of friends or family members to play the game, and observe how it flows, what works well, and what might need tweaking. Be open to feedback and ready to make adjustments.
Adjustments and Improvements
Based on playtesting feedback, make any necessary adjustments to the game’s design, rules, or materials. This iterative process is crucial for refining the game to ensure it’s enjoyable and engaging for everyone.
Step 5: Customization and Personalization
Aesthetic Enhancements
Think about the visual appeal of your game. You can add decorative elements, carve details into the wood, or use wood stains and paints to make the game visually striking and unique.
Adding Personal Touches
Personalize your game with names, dates, or special messages carved or painted onto the pieces. This not only adds a personal touch but also makes your game a memorable keepsake that can be passed down through generations.

Conclusion
Designing and crafting the perfect wooden game for your outdoor moments is a rewarding project that combines creativity, skill, and the joy of play. By following these steps and pouring your passion into the process, you’ll create not just a game, but a cherished piece that brings people together, sparks laughter, and creates lasting memories.
FAQs
- What is the best wood to use for outdoor games? Hardwoods like cedar, teak, or redwood are excellent for their durability and resistance to the elements.
- Do I need advanced woodworking skills to make a game? Not necessarily. Many simple game designs require only basic woodworking skills, while more complex games might require learning new techniques.
- How can I make my wooden game last longer? Use weather-resistant wood, apply a protective finish, and store the game properly when not in use.
- Can wooden games be environmentally friendly? Absolutely, by using sustainable wood sources and non-toxic finishes.
- How do I ensure my game is safe for all ages? Sand all pieces smoothly to avoid splinters, use non-toxic finishes, and ensure there are no small parts that could be a choking hazard for young children.